As plant-based diets continue to grow in popularity, more people are turning to alternative milk sources such as almond, cashew, and soy milk, and with that comes the need for tools like nut milk bag to help make the process easier and more efficient.

I used to go to the organic store to get my almond milk that does not contain sugar in it and other artificial and other unhealthy ingredients but to be honest with you, most of the time I could not find exactly what I was looking for so I had to compromise – you can’t always have exactly what you want especially when you depend on others isn’t it? But what happens when it comes to you? Did you know that there are some ways of having an healthier nut milk in a very easy and simple way and at the same time more sustainable and eco-friendly? We are sharing here the best option for you in every aspect. Did you ever wonder how you can make your own milk (either oat, almond, hazelnut, cashew and many more).
How to make homemade nut milks?
You can find machines called nut milk makers which are quite easy to use, but in our opinion the best, cheapest and healthiest way to make your own nut milk is to use an organic and unbleached cotton strainer or a BPA free nylon nut milk bag.
Using a nut milk bag – step by step on how to make some delicious, natural nut milk:
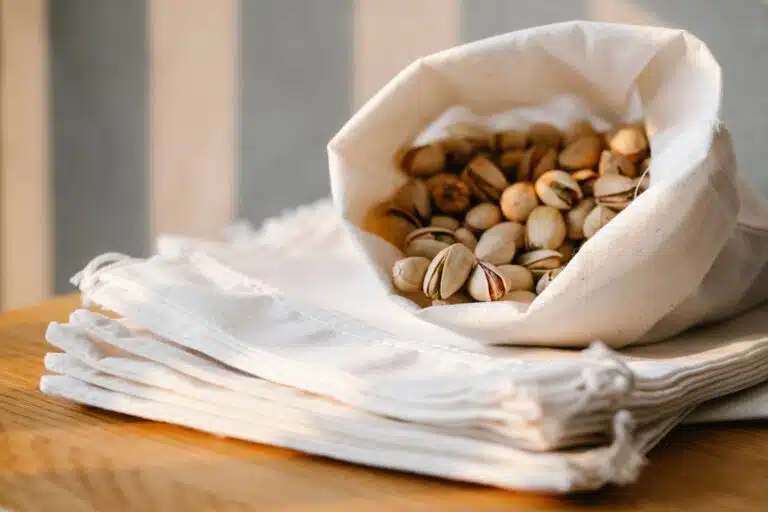
1. Soaking your desired nut
Soaking the nuts for a couple of hours – it helps cleaning the nuts and activating their health benefits – essential nutrients such as iron, protein, calcium, and zinc are better absorbed by the body when you soak the nuts. The water removes the phytic acid present in acids which causes indigestion. Soaking nuts helps in digesting them properly and reaping the benefits of these nutrients. With the brown skin ones such as brazil nuts, pecans, walnuts, or almonds, it is better to soak at least 6 hours. The rest you can leave for 2 hours approx. Rinse the soaked nuts until the water is clear.
2. Put your nuts inside the blender
Put the nuts in your food processor or blender and add two cups of water for every cup of nuts.
3. Only if desired – add some natural sweetener
Before blending you can also add some dates, sultanas, bananas, coconut, agave syrup or stevia.
4. Blend it baby!
Start with a low speed to crash all the nuts and slowly increase the speed. You want to stop blending when the crashing sound stops. It is important to be careful not to blend too much or it will be hard to squeeze the milk out of the bag as the fibers will be small enough to block the tiny holes of your milk bag.
5. Set up your nut milk bag inside a bowl
Make sure the bag is not moving so when you pour the blended nuts into the bag it won’t slip out into the bowl.
6. Pour the blended nut milk into the bag
7. Strain the milk and squeeze
Pick up the bag from the top and close it. Now, squeeze the milk into the bowl. If you find that it is hard to squeeze then you probably blended it a bit too long and fine. For the next time try to be more aware of it. Squeeze it until only the fiber is left.
8. Store the nut milk in a glass jar
Store it at 4℃ and make sure you use your healthy natural milk within 3 – 4 days.
9. Do not throw out the nut meal that remains in the bag- store it in the freezer instead and use it in another recipe.
You can store it inside a glass container and add fiber to your meals like falafels, pancakes, vegan cheeses, cookies and cakes.

Other useful ways for a nut milk bag
1. Make a freshly squeezed juice
Blend your fruits or vegetables, put it inside the nut milk bag, squeeze and done! You got a pulp-free drinking experience! You can keep the leftovers inside the bag and after straining it you can add it into your recipes- similar to the nuts.
2. Make cheese
You can use your nut milk bag as a replacement for a cheesecloth, it works exactly the same. There is no need to go buy one when you can use what you already have.
3. Herb sachet
Adding aromatic herbs like thyme, oregano, parsley and bay leaves is an easy way to boost the flavor of a stock, broth, or braise. You can tie the bag’s top closed and let the herb bag simmer in the food dish. This method allowing an easy removal.
4. Making a Coffee or a Tea
Nut milk bags can be used as a strainer for the regular hot stuff if you run out of paper filters or you just prefer to avoid using them.
5. Sprouting
You can sprout nuts, grains, and seeds like peas, lentils, chickpeas, quinoa and more using a nut milk bag. Place the ingredient of your choice in the bag, soak it overnight and then drain. Hang the bag by using the drawstring, rinse it in fresh water once a day, and after one or two days you’ll start to see the sprouts begin to emerge.
It can be left for sprouting for averagely 3-4 days as long as you rinse them every day. Once it is done you can add it as it is into your salad and enjoy a highly nutrient meal!
If you don’t finish all in one time you can store them with a container inside the fridge for 3-4 more days .
Generally it is better to keep in mind that a nylon bag is washable and reusable, and generally neater to squeeze and strain than a cotton one.
We hope that we helped you get some new ideas for using these nut milk bags. Feel free to tell us what you think about this ideas or if you have a new ideas for using it!!
Take care and B-Eco!